
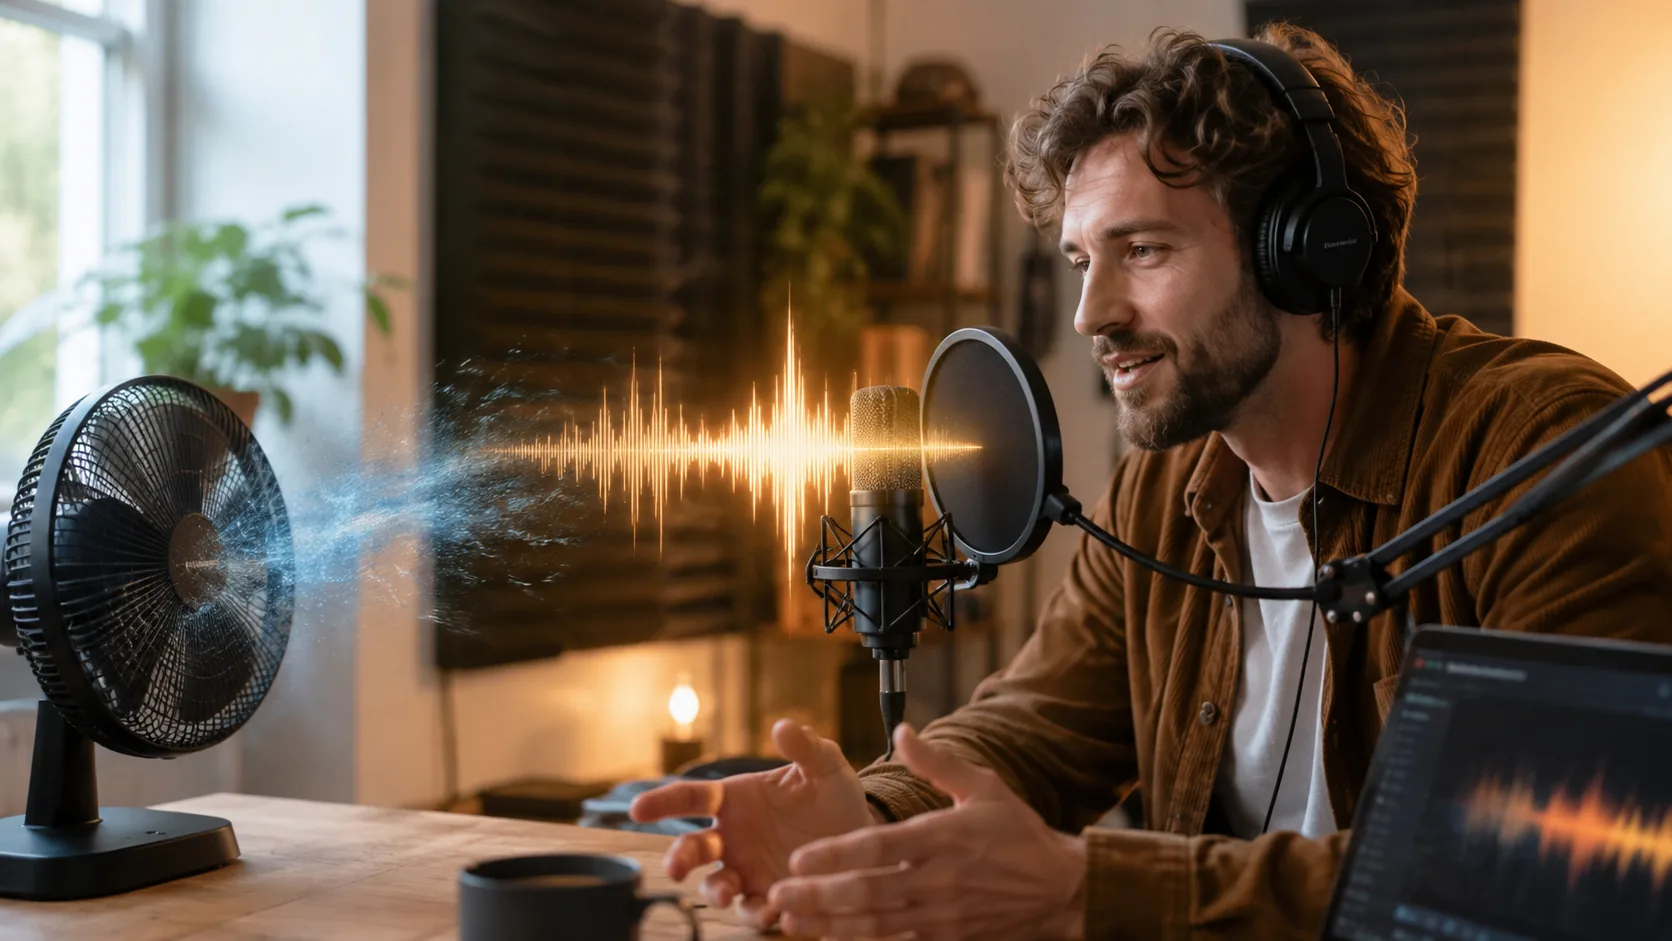
The goal is not a perfectly silent waveform. It is a podcast in which the noise stops distracting listeners and every speaker still sounds natural.
To remove background noise from a podcast, keep the original recording, identify whether the problem is steady noise, changing noise, echo, another voice, or clipping, and test the hardest 30–60 seconds first. Process separate speaker tracks separately, use the lightest effective cleanup, and compare the result with the source at matched loudness before treating the full episode.
This guide is for solo podcasters, remote hosts and guests, roundtable producers, and editors who need to reduce fan noise, hiss, room sound, or other distractions without hollowing out the voices.
Quick answer: Save an untouched master, choose a difficult 30–60 second sample, then reduce the noise conservatively. Check consonants, quiet words, laughter, and sentence endings at the same playback loudness. If speech appears in the removed-noise signal—or a speaker sounds metallic, watery, or unfamiliar—back off or use a method designed for that specific problem.
Table of contents
- Diagnose the sound before processing
- Choose a workflow for your recording setup
- Remove background noise safely
- Review and prepare the episode for publishing
- Know when noise reduction cannot solve the problem
- Frequently asked questions
Diagnose your podcast noise before processing
“Background noise” is not one technical problem. A broadband denoiser may reduce a steady fan, but the same treatment can make room echo, overlapping speech, or clipped dialogue worse. Listen to a noisy pause and a noisy sentence, then use this table before choosing a tool.
| What you hear | What it probably is | Best first approach | Main risk |
|---|---|---|---|
| Continuous hiss, fan, or air conditioner | Steady broadband noise | Light noise reduction or speech denoising | Metallic or hollow voice if pushed too far |
| Fixed low hum or high whine | Electrical or mechanical tone | De-hum or narrow notch, then light denoising | A broad filter can thin the voice |
| Traffic, keyboard hits, chair movement, or dishes | Changing or transient noise | Local edits, spectral repair, or a model suited to variable noise | Global denoising damages clean sections |
| Repeated, smeared copies of each word | Room echo or reverberation | De-reverb, better microphone track, or re-recording | Noise reduction alone leaves the reflections |
| Music under speech | Mixed sources | Recover stems or use source separation | Ordinary denoising removes parts of speech too |
| Another person talking behind the host | Overlapping speech | Isolated tracks, manual editing, or dialogue separation | Similar voices may not separate reliably |
| Harsh, flattened peaks | Clipping | Find another recording, try de-clip, or re-record | Missing waveform detail cannot be restored exactly |
The Audacity Noise Reduction manual makes the same practical distinction: its profile-based effect is suited to constant sounds such as hum, hiss, and fan noise, but not individual clicks or irregular noise such as traffic or an audience. It also warns that satisfactory removal may be impossible when the noise is loud, variable, or close to the speech in level and frequency.
If the recording contains more than one problem, solve the narrow problem first. For example, reduce a 50/60 Hz hum with a de-hum tool before applying a restrained broadband pass. Do not raise global noise reduction just to remove one cough or chair scrape.
What noise reduction can and cannot do
Noise reduction can attenuate captured noise when enough clean speech remains. It cannot reconstruct an uncaptured word, reliably unmix equally loud similar voices from one track, undo severe clipping, or turn strong reflections into a dry recording.
Cleanup is a good fit when the speaker is louder than the noise and a short test improves the background without changing words or vocal identity. Stop or change methods when similar voices overlap, speech remains unintelligible, the result sounds robotic, or a word cannot be verified.
For a deeper explanation of this trade-off, see noise reduction without losing voice quality. If a previous pass already damaged the voice, use the robotic voice troubleshooting guide before adding more processing.
Choose the workflow for your podcast setup
The recording layout matters as much as the noise type. Preserve separate tracks for as long as possible; once all microphones are mixed together, every repair has fewer safe options.
Solo podcast
Keep the raw microphone file and at least 5–10 seconds of room tone. If the environment changes, create a separate test for each location instead of forcing one noise profile across the episode. Next time, move the microphone closer, lower unnecessary input gain, turn off avoidable appliances, and add soft furnishings near reflective surfaces.
Remote host and guest
Ask every participant to record locally on an isolated track. The live call keeps the conversation connected; local files let each room's fan, hiss, and echo be treated independently. The PRX remote-recording guide likewise emphasizes planning the space, equipment, and signal flow.
Align the tracks, preserve each original, and clean only the noisy participant's file. Fade a silent guest track smoothly rather than cutting instantly to digital silence. A public r/podcasting discussion about constant white noise shows why: hard mutes create room-tone jumps, while aggressive reduction can hollow out the voice.
Multiple people in the same room
Record each person on a close microphone and separate channel when possible. Edit with all tracks together because processing one microphone in solo can sound unnatural when the other channels return. If everyone was captured on one room microphone, use conservative cleanup and local edits. Similar overlapping voices on the same track are high risk; prefer another microphone, camera track, or verified transcript.
How to remove background noise from a podcast step by step
Step 1: Preserve the original and organize the tracks
Duplicate the source files. Label host, guest, room, camera, and call-backup tracks, then confirm synchronization. Prefer a raw local track over a file already altered by meeting suppression, “studio voice,” or heavy compression.
Step 2: Mark the noise timeline
Mark steady fan sections, environmental changes, echo, clicks, overlap, and clipping. This prevents one global effect from being used on unrelated sounds.
Step 3: Build a difficult 30–60 second test
Include normal speech, a quiet phrase, exposed noise, laughter, and consonants such as “s,” “f,” “sh,” and “t.” For a remote episode, test each participant and environment.
Step 4: Apply the lightest suitable treatment
Start with the lowest strength that makes the noise less distracting. A profile-based editor needs a selection containing only representative noise; an adaptive or AI speech denoiser still needs a short trial because changing noise and overlapping speech increase uncertainty.
If your software offers residue, output noise only, or a separated noise stem, audition it. Audacity's official guidance says recognizable wanted sound in the residue indicates that noise reduction or sensitivity is too high. Hearing consonants, breaths, laughter, or complete syllables there is a reason to back off.
Step 5: Compare at matched loudness
Level-match the untreated and processed samples before choosing. A louder result can seem clearer even when it has lost detail; a quieter result can seem less impressive despite being more natural.
Use the same sentence and ask:
- Is every word and ending still present?
- Does each person still sound like themselves?
- Are consonants, breaths, laughter, and emphasis intact?
- Does the room tone change abruptly between speakers or edits?
- Is the remaining noise less distracting than any new artifact?
Check on headphones first, then on a phone or laptop speaker. Keep the version that makes the episode easier to follow, not automatically the version with the lowest noise floor.
Step 6: Process the episode by section or track
Only after the sample passes should you treat the full recording. Use approved settings per isolated track and environment, repair short impacts locally, and add fades or consistent room tone where hard mutes would jump.
Step 7: Listen through the assembled episode
Spot-check edit boundaries, overlaps, laughs, quiet answers, and noise changes. For high-stakes interviews or quoted speech, verify the cleaned audio against the source and transcript. A plausible AI-generated syllable is not evidence of what was said.
Review, loudness, and export
Finish dialogue editing before loudness processing. Compression, limiting, and normalization can raise remaining noise, so recheck loud and quiet passages after mastering.
Apple Podcasts recommends overall loudness around -16 dB LKFS, ±1 dB, with true peak no higher than -1 dB FS. Its audio requirements list 44.1 or 48 kHz for MP3, 96–128 kbps for mono, and 128–256 kbps for stereo. Confirm your own host's current requirements before export.
Export a new master and listen to the encoded delivery file; encoding can introduce artifacts that were not obvious on the timeline.
What if the podcast audio cannot be re-recorded?
When the conversation is irreplaceable, aim for the most trustworthy usable version rather than a studio illusion. Collect every source—local microphones, call recording, camera, phone, and room track—then use the clearest one for each damaged passage. Prefer narrow local repairs, allow stable ambience when removing it would damage speech, and acknowledge an inaudible phrase when exact words cannot be verified.
If music—not environmental noise—is masking the dialogue, follow the separate guide to remove background music from video while keeping the voice. That task requires source separation or original stems, not ordinary podcast denoising.
A podcast noise-removal review checklist
- The untouched master and isolated tracks are preserved.
- The sound is classified as steady noise, transient noise, echo, speech, music, or clipping.
- The hardest 30–60 seconds passed a matched-loudness A/B review.
- No recognizable words, breaths, or laughter appear in the removed-noise output.
- Edit boundaries and room-tone changes sound natural.
- Important words match the source and transcript.
- The encoded file was checked on headphones and a common speaker.
- Format and loudness match the current host requirements.
- Permission and privacy terms were checked before uploading sensitive recordings.
Frequently asked questions
Can I remove all background noise from a podcast?
Steady, low-level noise may become barely noticeable, but complete removal is not a safe universal target. Loud, changing, or speech-like noise overlaps the voice. Stop when further reduction makes words, tone, or speaker identity less natural than the remaining background.
How do I remove fan noise without making the voice sound hollow?
Test a representative fan-only sample or speech-focused denoiser on a difficult 30–60 seconds at low strength. Compare at matched loudness. If speech appears in the residue or the voice loses consonants and breath detail, reduce the strength.
Should I use a noise gate on a podcast?
A gate lowers a track while its speaker is silent; it does not remove noise during speech. Aggressive gating can chop breaths and endings or jump to silence. Use gentle expansion, fades, or consistent room tone, and judge it in the full mix.
Can AI remove another person talking in the background?
It may attenuate a quieter background voice, but similar voices overlapping at comparable levels on one track are difficult to separate reliably. Prefer isolated microphones or another recording. Verify important words against the original and reject outputs that change syllables.
Should I denoise before or after compression?
Usually, reduce noise before compression because compression can raise low-level hiss and room sound along with quiet speech. Apply conservative cleanup first, edit the episode, then compress and normalize. Recheck after mastering because the final dynamics processing may reveal noise or artifacts you missed earlier.
Bottom line
The safest way to remove background noise from a podcast is to preserve the source, diagnose the unwanted sound, process isolated speakers separately, and approve a difficult short sample before touching the whole episode. Natural, intelligible voices matter more than absolute silence.
To evaluate a real recording, upload a copy of the hardest 30–60 seconds to the RemoveNoise online background noise remover. Check the upload area for the current file limits and supported formats, compare the result with the untouched sample on the same headphones, and process the full episode only if every speaker still sounds complete and believable.
Sources and article information
- Noise Reduction, Audacity Manual. Official guidance on suitable noise types, profiles, residue monitoring, conservative settings, and artifacts. Accessed September 4, 2026.
- Audio requirements, Apple Podcasts for Creators. Official delivery guidance for loudness, true peak, sample rate, bit rate, and formats. Accessed September 4, 2026.
- The Ultimate Guide to Remote Recording: Part One, PRX. Recording-space, equipment, and remote signal-flow guidance. Accessed September 4, 2026.
- How to Deal with Constant “White Noise” Background Noise Coming From One Person’s Recording While Someone Else Talks?, Reddit r/podcasting. Public discussion illustrating room-tone jumps and hollow voices in a multi-track podcast edit. Accessed September 4, 2026.
Research and writing: RemoveNoise Editorial Team. Editorial review: RemoveNoise Editorial Team. Method: Sources and current search results were reviewed on September 4, 2026. This article provides a repeatable diagnostic and listening workflow; it does not claim a RemoveNoise benchmark test or third-party user endorsement.
Disclaimer: Results depend on the source recording. No noise-reduction method can guarantee exact recovery of speech that was not captured clearly. Confirm consent and the current privacy terms before uploading confidential, medical, legal, client, or unreleased interview audio.